Maintaining the consistency of the generated image - to apply it in later ones and create a coherent story - is a huge challenge for Midjourney. The puppet method is tedious and rigorous, but it allows for very satisfactory results - especially for individual characters.
The puppet method uses a very specific prompt template and allows for relatively efficient operation of a previously generated character.
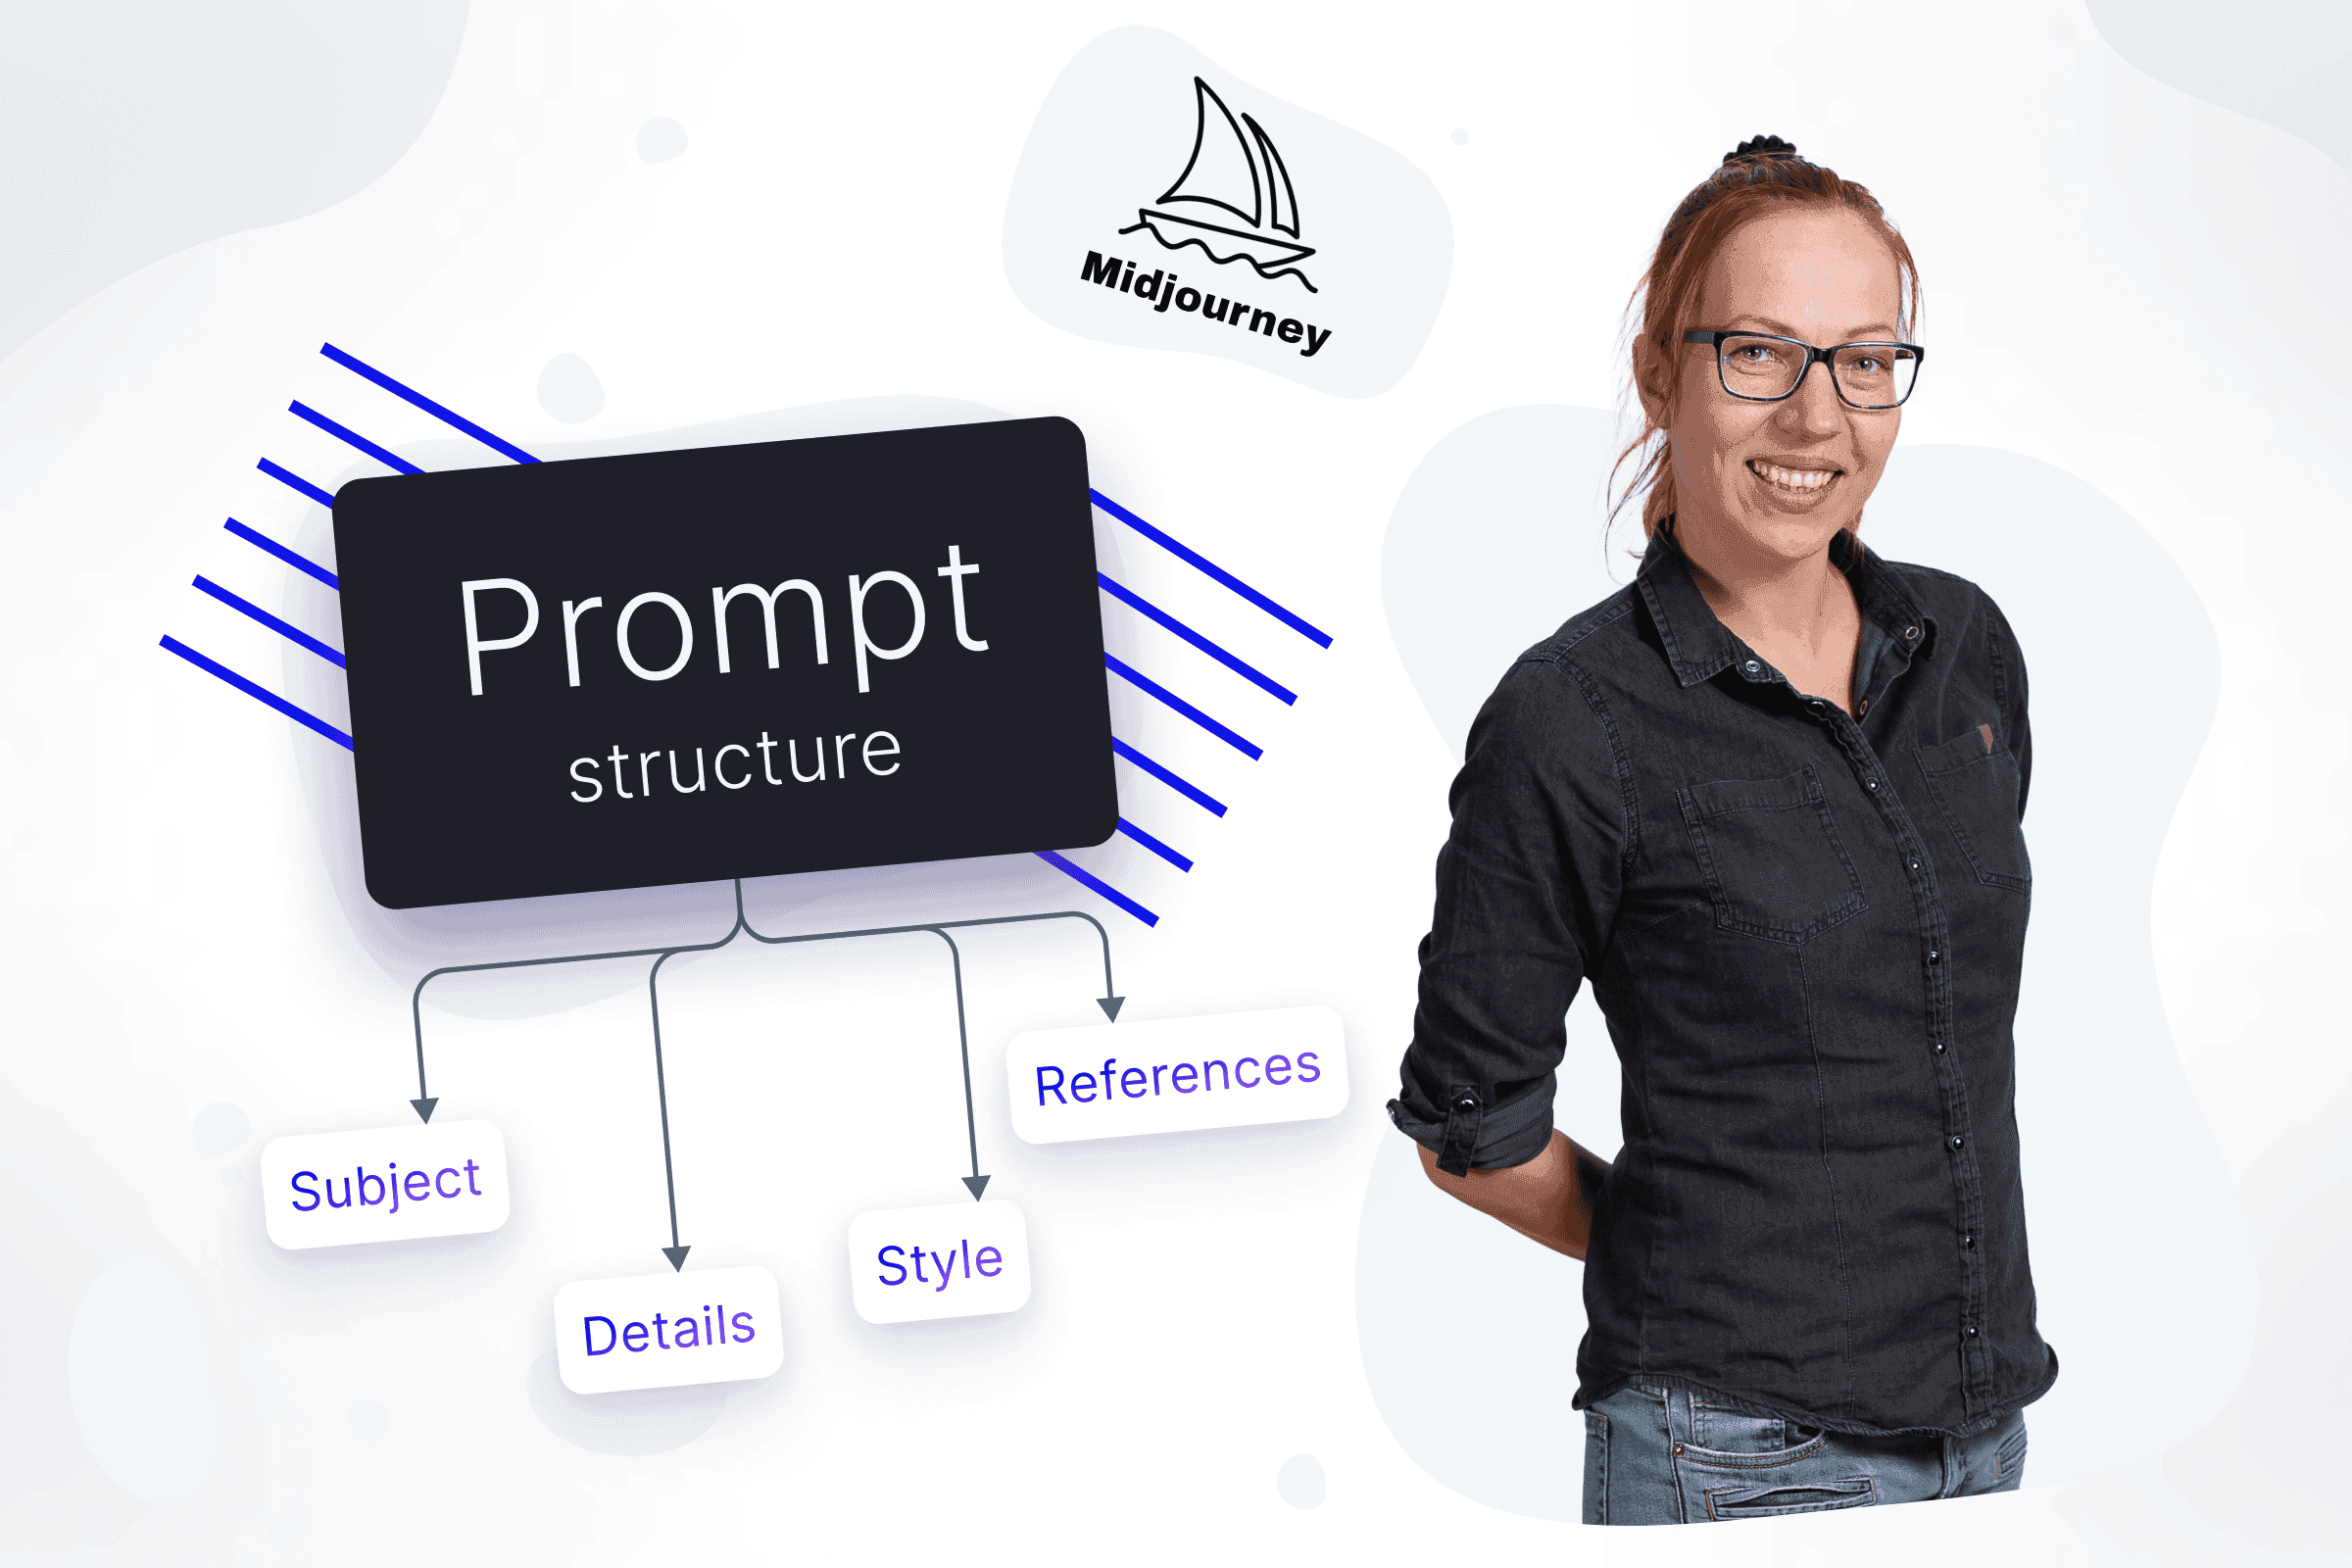
The template looks like this:

So let's discuss all aspects one by one:
Puppet template:
1. Character image
2. Background description
3. Character description
4. Description of activities – character animation
5. Extras – atmosphere and parameters
You should use this template with all keywords - then they act as a reusable puppet (actor, character). You can change the setting, activity, atmosphere, media type, etc., around her to direct this character. Later, once you've mastered the template, you can experiment with removing or rearranging keywords.

The template is based on weighted phrases, strong keywords and a specific sequence. As you use it, it becomes easier and easier to modify. To complete it you need:
Character image
The character reference image should roughly reflect the character's appearance when Midjourney integrates it into the final scene. You can use a ready-made photo or a previously generated image—you need a link (to the image on Discord or online), which will be a model of the character. It is important that the character "fits" the scene.
If you provide a reference in the form of a cropped head-to-shoulder portrait, remember that Midjourney will have difficulty coming up with a body for the character and will likely ignore attempts to show the entire body. And if you provide an image in which the character's face is only a few pixels in size, remember that Midjourney will have a hard time coming up with a face, and the results showing the character's face may be completely different. Therefore, it is essential to roughly match the reference image to its appearance in the final image. The character image must have a simple or blank background to help Midjourney focus on the character.
REMEMBER ! Of course, there is no guarantee that the character will look like the image provided. Reference graphics only have influence, so you won't be able to recreate an exact portrait of yourself or your loved ones, but you have a chance to get a really similar result. You can also increase the weight of the reference image using multiprompts.
EXAMPLE
Using the prompt: photoshoot of blue-hair pixie-cut hipster-girl, full body, white background, I generated Lizzy. The portrait below has a light background a clear face, and is cropped in half - this suits me because I don't want to create the entire silhouette and a blurred face, but rather place it in various situations in this close-up. So – this is Lizzy.

Background description
The background description begins with "Setting is" (case sensitive!) and can be supplemented with both text and an image.
The important thing here is to describe the scenery as precisely as possible. These should be short, characteristic phrases that clearly define Midjourney, where our puppet is to be. We do not use verbs then - we try to provide a static description of natural circumstances. You can also use a reference image for the background - then remember that your prompt should match it - that is, describe what is actually in the scenery.
In this case, we set the scenery to a night vision of the city and its rooftops.

Pretty good, right? It's definitely Lizzy - our chosen character. The last two pictures clearly show the city at night. Lizzy is reading a book, as we indicated in the prompt. Let's move it to some other, more appropriate place…

Lizzy is still reading the book - but the environment has changed. He's not on the roof anymore, just... that's right. Not very library-y, right? It was supposed to be an old-school library, but there were a few books. So, I will generate and add a background reference image:

Oh, a very nice bookcase, a different atmosphere of the place, so I'll add both a link and a description to the prompt:

And this is much closer to the effect we wanted to achieve.
The entire prompt remains unchanged—it only adds a link to the background. It is also important to maintain a similar (or preferably the same) background description—"vintage library with bookshelves"—as when generating it. If you use a ready-made photo, describing what is in it is important. The discrepancy between the reference image and its description may lead to interesting effects, but it will certainly add artefacts and weaken control over the character.
Character description
The text description should always start with the Name is (case sensitive) and consist of the character's characteristic features. There is also a part here where you give the character a name - it should be as neutral as possible. If you choose the name Mulan and then create a blonde girl - you may find that she doesn't look exactly like a Swedish girl. However, remember - archetypes are on your side and choosing a super-characteristic name can also have its advantages.
But be careful! This is not the place to describe what the character does - only the most characteristic features that define him as a character. You can dress up the character and make a puppet out of him in a moment - not now. Now focus on a short and focused description
If you generated a character using Midjourney - it is worth using the description that created it. If it is long, use the /shorten command to see which keywords Midjourney considers the most important. In the examples given, I constantly use the exact description of Lizzy that I used to create her.
Description of activities – character animation
A text description of a character doing something in a scene or setting must begin with Setting contains (case sensitive). Now you can "move" your puppet. But don't go crazy - the activity description should be limited to two or three elements.
It's best and easiest to change things one at a time, such as:
-
character wardrobe
-
character emotions
-
key activity
So, in the image below, we dress Lizzy up in a scarf and jacket.

While elements such as clothing or expressed emotions are easy to change here, and Midjourney usually has no problem, assigning the action performed is more complicated. Everything the character does should be matched to the character's reference image. Do you have a full figure? Forget biting your lip. Do you have a portrait painting? Jumping over obstacles won't be good.
Extras – atmosphere and parameters
The last space is left for adding a few keywords and parameters. Try not only to maintain style but to enhance it. Notice that in the previous two examples, when Lizzy is in New York wearing a scarf and jacket - the prompt is - photo by Ann Leibowitz. I chose an emotional, well-known artist to suggest to Midjourney that I wanted a piece of street photography. In the example of escaping from a dinosaur, I added an "action movie cinematic photo" to get a dynamic image like an action scene, not a nostalgic portrait. You can also set all other parameters of the generated graphics here - version, aspect ratio, style - just like in any other.

BONUS TIPS
Multiprompts divide the template into appropriate sequences ending with two colons. Before you start modifying them, make sure you know the rules of multiprompts. Increasing the weight of any multiprompt sequence (background, animation, etc.) can strengthen its impact on the generated graphics.


